
If you have never replaced a toner before, it could be a daunting task. However, don’t worry, as this guide will walk you through the process. You must also have some know-how about the toner cartridge and drum unit to understand the process of printing and using the Brother printer appropriately. The Toner cartridge and drum unit are two separate consumables in the brother printer. Let’s discuss the essential difference between the two first.
Toner Cartridge: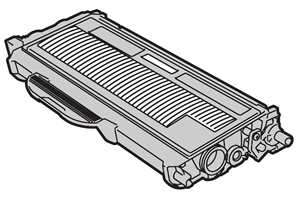
Toner Cartridge accommodates toner powder (special ink) necessary for printing text and images on paper.
Drum unit:
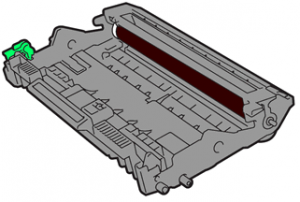
The drum unit holds the paper in its place and transfers the toner powder onto it. It is responsible for printing images and text using heat and pressure.
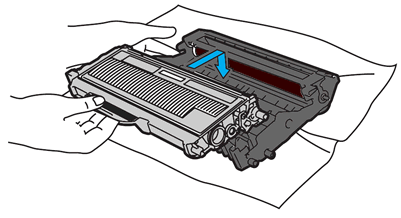
While replacing the toner, you have to make sure that you do not change the drum unit by mistake. Refer to the picture to see how to put the toner inside the drum unit. And follow our step-by-step guide for brother toner replacement.
Step 1: Turn the machine on.
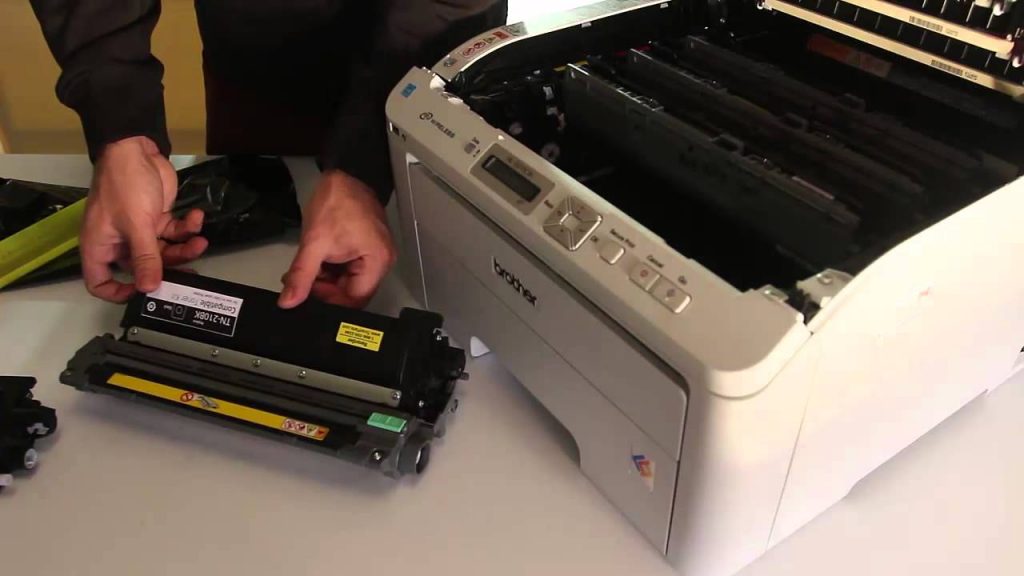
Step 2: Open the front cover of the machine.
Step 3: Remove the machine’s toner cartridge and the drum unit.
Step 4: You’ll find a lock lever of green color. Push that lever to take the toner cartridge out of the drum unit.
Step 5: Now, take the new toner cartridge and unpack it.
Step 6: Make sure to take off the protective cover from the toner cartridge.
Step 7: Put the toner cartridge firmly inside the drum unit. You must keep at it until you hear it lock into the drum kit. If you fail to fit the toner cartridge properly, it could separate from the drum unit.
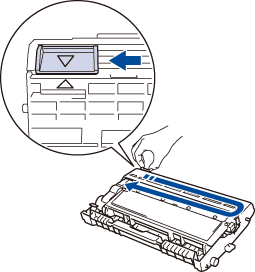
Step 8: Now slide the green tab with an arrow from left to right and vice versa a couple of times. It’ll allow you to clean the corona wire. You have to make sure that the green tab is perfectly aligned with the arrow mark on the drum unit after you move it back to back. Otherwise, remember that the printed pages might get vertical lines, ruining your prints.
Step 9: Reinstall the toner cartridge and drum unit inside the printer.
Step 10: Lastly, close the front cover of the printer. Also, ensure that the machine stays turned on, and you don’t take off the front cover until the printer’s display returns to “Ready Mode.”
If you need help with your printer you can contact us anytime using our contact number: 046 911 8256